How to use React forms and State?
In the previous post, I did the basic setup of react, typescript, webpack and showed you how to render a react component. In this post I will show you how to use react forms to collect data.
What is a webform?
A webform is a collection of input controls dedicated to collect information about an entity. An entity can be anything. For example, an entity can be a person, or a book, or a movie, etc. So let’s create a webform to collect data about books.
How to create a react webform to collect data about books?
Think about a book, what attributes or details comes to your mind? Book name, author, publisher, published date, price, type, number of copies etc. Now, let’s create a react webform to collect these attributes.
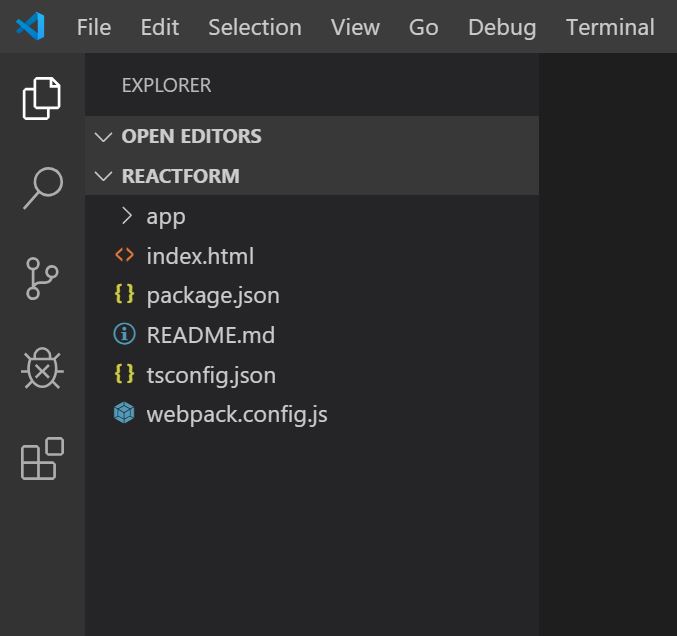
First of all, let’s do the initial setup of the react webpack typescript development environment. If you are unfamiliar with setting up react environment, you can read my previous post about How to use Typescript and Webpack 4 with Reactjs. Download the basic react setup project from this link github download and extract it to a folder in your PC. Once installation is completed your project folder would be as follows;
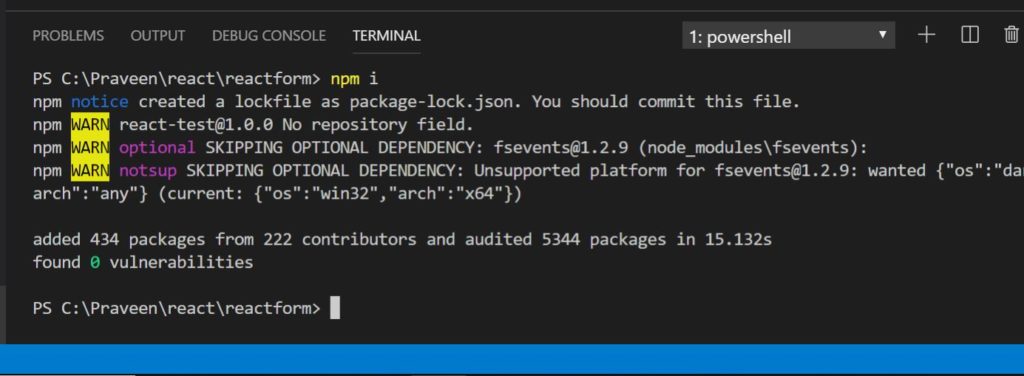
Now open up a new terminal window and install required packages. Use the following npm command to do this.
npm i
This command will go through all the packages listed in the package.json file and install it into local folder.
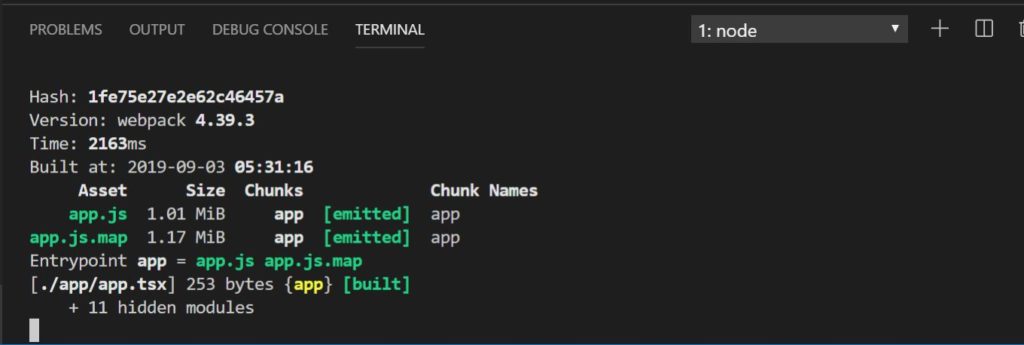
Once package installation is completed we can compile the project using following npm command;
npm run start
Now you can notice the terminal window is displaying a message saying ‘webpack is watching for any file changes’. Open index.html file and see how reactjs is working.
Next, let’s create a new react component called Book.tsx and wire it up with app.tsx. Your book component code should be as follows;
import * as React from 'react';
import * as ReactDom from 'react-dom';

export class Book extends React.Component{
    constructor(props) {
       super(props)
    }
    render(){
        return <React.Fragment>
            <h3>Book</h3>
        </React.Fragment>
    }
}
export default Book;
If you want your components to be used with other components, always make sure to export them to default.
Now, lets change the app.tsx code as follows;
import * as React from 'react';
import * as Reactdom from 'react-dom';
import Book from './book';
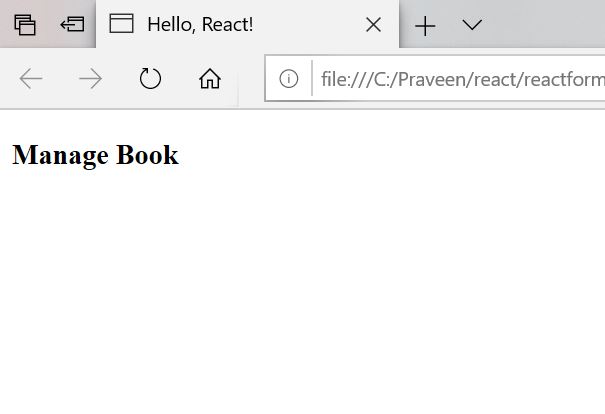
Reactdom.render(<Book/>,document.getElementById("app"));As you can see now we can import our book react component into app.tsx and we use it in render method. Now when you refresh the browser it will render book component.
Let’s add our first input field into book react component. The moment you save your file and refresh the browser you will notice the new form control on the browser.
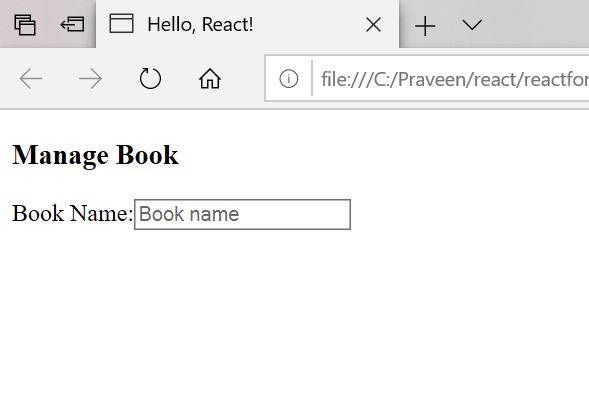
This is the magic of webpack. It watches for your code changes. When you save your code changes, webpack will automatically compile them for you.
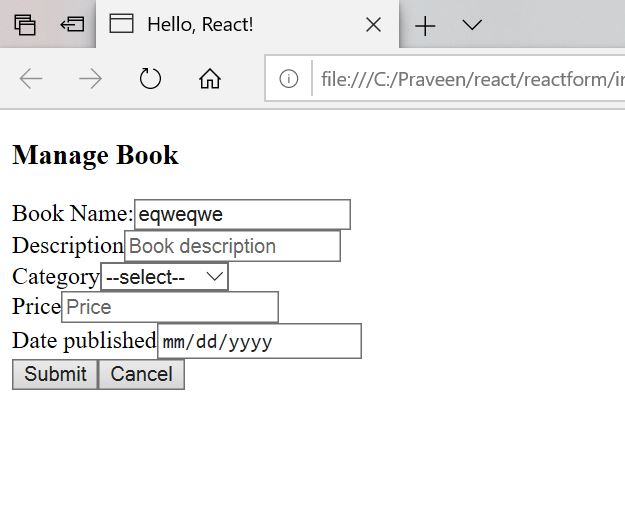
Once all the input fields are added into the form it would look as follows;
So far we have just created the form elements only. But real react components are based on their states. Managing state is a very important part of react development. Reactjs always creates a virtual DOM to manage changes in a reactive way. Any changes to the react state will automatically apply using a virtual DOM.
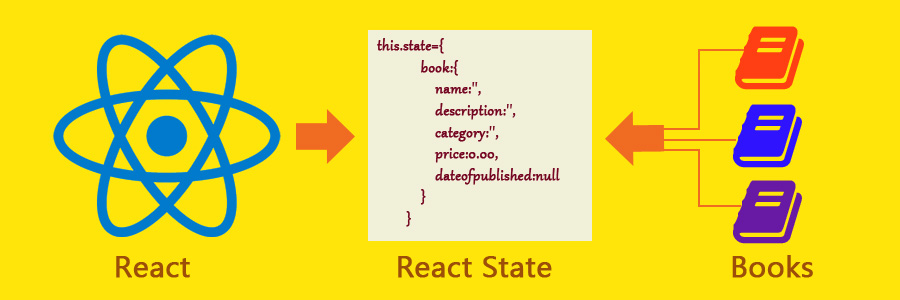
What is React state ?
React state helps you to manage your UI state. For example it can store all the book details, error details etc. Once you validate your state against the business rules you can submit it to your backend to save it in a Database for later use.
Now let’s create a state for the book component. The best practice would be to create a state interface before declaring the state object. This state interface will make the react state more cleaner and gives you intellisense wherever you use react state properties. State interface will minimise the typos too. So, let’s create the state interface for the book component.
Your state interface would look as follows;
 interface IBookState{
    book:{
        name:string;
        description:string;
        category:string;
        price:number;
        publisheddate:any;
    }
}
At the same time when we extend the react component we need to specify the new state interface into it. Then it will wire up with the component state. Now your react component state will look as follows;
 //declare initial state
       this.state={
           book:{
               name:'',
               description:'',
               category:'',
               price:0,
               publisheddate:null
           }
       }
But to get intellisense to work on the IDE you need to install 2 new npm packages. Those are react types and react-dom types. Run the following command.
npm i @types/react @types/react-dom --save-dev
How to use React initial state?
What is the purpose of react initial state? You can use react initial state to set the default values of input controls on the form. How can you do it? Following input control demonstrates how to use state properties to assgin input control values.
<input type="numeric"
       id="price"
       placeholder="Price"
       value={this.state.book.price}/>
In react we use curly brackets({}) to set input property values. In this instance it would be like as follows;
value={this.state.book.price}If you continue to do more and more react development, the above mentioned syntax would be a general coding syntax in react.
How to update React State?
So far we have only initialised the react component state, this means the state is still empty. How you can check the current react state? Let’s add a click event handler to the submit button on the form. Then on the event handler use the console.log function to output the state into browser console. Now you can view the output on the dev tools console as follows;
All of us know there are various events and properties exist in any html input control. To update react state, the best event would be, onchange event of an html element. Let me show how we can update the react state using onchange event of a text box. First, take the book name text box and add the onchange event of it. You can handle the onclick event as follows;
<input type="text"
       id="bookname"
       name="bookname"
       placeholder="Book name"
       onChange={(e)=>{
           //collect the textbox current value
           var val=e.target.value;
           //using react setState() function to update
           //name property of the state->book object
           this.setState(prevState=>({
                 book:{ ...prevState.book,
                         name:val}
                  }))
           }}
           />
In every event handler you can access the event object of it. This object contains all the information we require. In this case we use this event object to extract the value of it and assign it to a new variable. You might be wondering why we need a new variable? The reason is we can’t access event object properties inside setState method at this point, because we are using the previous state as well as spread operator(…) to update state object.
Now refresh your form and type a book name and hit the submit button. You will notice that name property of the book object inside the react state has the value we entered a while ago. Now every time you change the book name it updates the state property value. Well done! We’ve just made our state updating. Let’s complete the other input controls as well. Following is how your react form code would look like once all event handlers are handled;
export class Book extends React.Component<{},IBookState>{
    constructor(props) {
       super(props)

       //declare initial state
       this.state={
           book:{
               name:'',
               description:'',
               category:'',
               price:0,
               publisheddate:null
           }
       }
    }
    render(){
        return <React.Fragment>
            <h3>Manage Book</h3>
            <form>
               <label>Book Name:</label>
               <input type="text"
                       id="bookname"
                       name="bookname"
                       placeholder="Book name"
                       onChange={(e)=>{
                           //collect the textbox current value
                           var val=e.target.value;
                           //using react setState() function to update
                           //name property of the state->book object
                           this.setState(prevState=>({
                               book:{ ...prevState.book,
                                   name:val}
                           }))
                       }}
                       value={this.state.book.name}
                       /><br/>
               <label>Description</label>
               <input type="text"
                       id="description"
                       name="description"
                       placeholder="Book description"
                       onChange={(e)=>{
                           var val=e.target.value;
                           this.setState(prevState=>({
                               book:{...prevState.book,description:val}
                           }))
                       }}
                       value={this.state.book.description}
                        /><br/>
               <label>Category</label>
               <select id="category"
                   onChange={(e)=>{
                   var val=e.target.value;
                   this.setState(prevState=>({
                       book:{...prevState.book,category:val}
                   }))
               }}
               value={this.state.book.category}>
                   <option>--select--</option>
                   <option>Fiction</option>
                   <option>Story</option>
                   <option>Adventure</option>
               </select> <br/>
               <label>Price</label>
               <input type="numeric"
                       id="price"
                       placeholder="Price"
                       value={this.state.book.price}
                       onChange={(e)=>{
                           //a special momant, since the state price
                           //property is number we need to use parseFloat()
                           //function to convert the text value in number
                           var val=parseFloat(e.target.value);
                           this.setState(prevState=>({
                               book:{...prevState.book,price:val}
                           }))
                       }}
                       /><br/>
               <label>Date published</label>
               <input type="date"
                       id="datepublished"
                       placeholder="Date published"
                       value={this.state.book.publisheddate}
                       onChange={(e)=>{
                           var val=e.target.value;
                           this.setState(prevState=>({
                               book:{...prevState.book,publisheddate:val}
                           }))
                       }}
                       /><br/>
               <button type="button"
                   onClick={(e)=>{
                       console.log(this.state.book);
                   }}
               >Submit</button>
               <button type="button">Cancel</button>
           </form>
        </React.Fragment>
    }
}
Except for the price, all the other onchange event handlers do the same thing. Since, we use typescript for our development, if you try to assign the event target value without converting it to a number into the price property of the react book state, it will tirgger an error. This is one of the best features of type checking done by typescript.
Now let me show you the react state behavior while you’re filling up the form. Let’s add the following code into your component.
<h2>Book State</h2>
            <table>
                <tr>
                    <td>Name</td>
                    <td>{this.state.book.name}</td>
                </tr>
                <tr>
                    <td>Description</td>
                    <td>{this.state.book.description}</td>
                </tr>
                <tr>
                    <td>Category</td>
                    <td>{this.state.book.category}</td>
                </tr>
                <tr>
                    <td>Price</td>
                    <td>{this.state.book.price}</td>
                </tr>
                <tr>
                    <td>Published Date</td>
                    <td>{this.state.book.publisheddate}</td>
                </tr>
            </table>
So anytime you input values into the respective fields, the table below will get updated. Not only that if you want to compose information or calculate new values or validate these values or any data manipulation you think of can be achieved with react state object. So this is a very simple example which demonstrates how to use react state. In the next article I will show you how to style this form using bootstrap 4 css framework.
You can download the full source code from this github download link
Click here for live demo
Share your thoughts