When you want to style react form, there are many css frameworks available online. Some of them are as follows;
Over the years bootstrap has evolved in really easy ways to use. One best example in this evolution is Bootstrap 4. Bootstrap 4 covers 90% of css requirements we encounter day to day. In this article I’m going to show you how to style a react form using Bootstrap 4. To do this I’m going to use the react form which I created in the previous post. So, you can download how to create react forms project using this github download link. Once you download the project extract it into a folder in your PC. Run the following nodejs command to install node packages as usual.
How to setup React & Typescript environment?
Run the following command;
npm i or npm install
It may take few minutes to fetch npm packages based on the internet speed. Once npm package installation completed you can compile it using the following nodejs command;
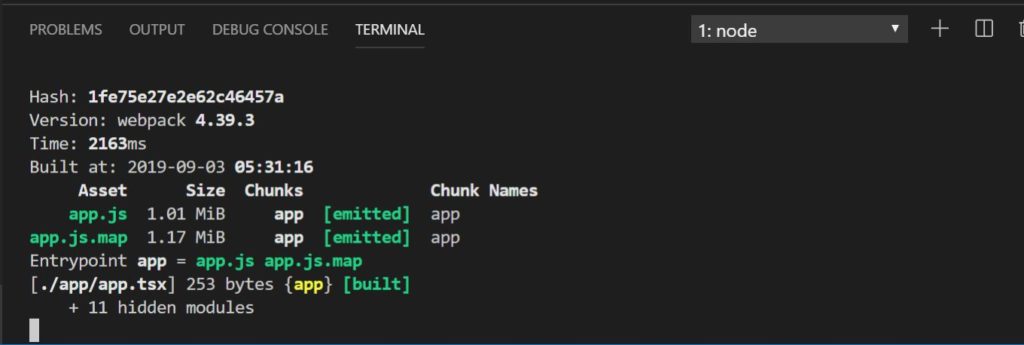
npm run start
Above command will scan your package.json file script section and locate the webpack compile command and execute it. If all goes well, you will see the following screen;
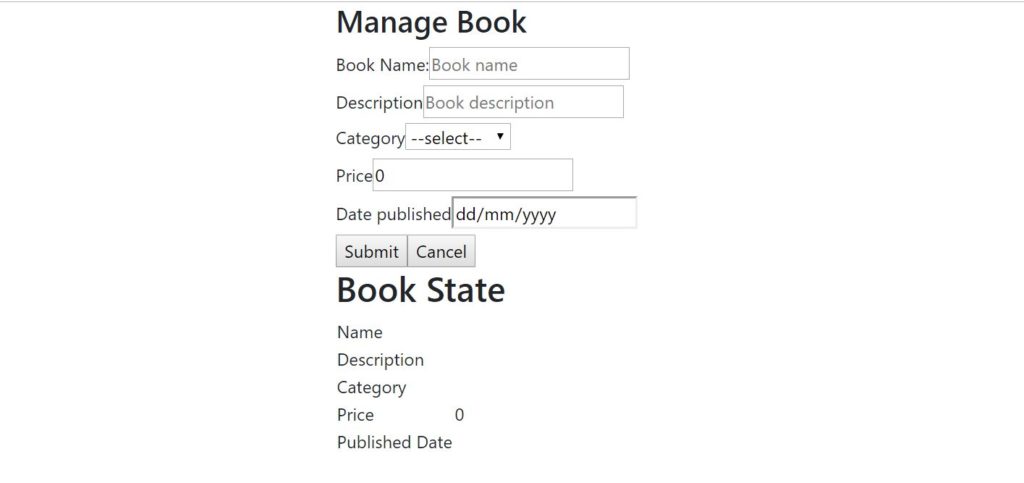
Now open the index.html page and you can see the unstyled book form.

How to setup bootstrap 4?
Let me show you how to integrate bootstrap 4 with react forms. Let’s visit bootstrap 4 official website getting started section. Scroll down and you will see a basic bootstrap 4 template there. Copy its style reference and paste it on the index.html header section. Save the page and open it on the browser. You will notice a difference in fonts. Let’s use the main container class of bootstrap and see what is getting changed. You will notice equal spaces are being added to left and right side of the webpage. This gap is created by bootstrap main container class to center the page content.
How to center a form using bootstrap 4?
In bootstrap 4 there are many ways to center a webform. Let me show you a very simple way to center your forms using bootstrap grid. Go back to you index.html page and wrap your code react form control with the following html code;
<div class="row">
     <div class="col-6">
       <div id="app"></div>
     </div>
</div>
How to use Bootsrap Grid Rows?
You can see that I’m using the row class with the first div. This row class div is the container for all the column divs in a row. This is something similar to table and rows in html. However, the difference is, the columns inside this rows are getting adjusted to the screen width. This process is called responsiveness. You can learn more about bootstrap grid by visiting bootstrap official website
How to use bootstrap columns?
Let’s place a div inside a bootstrap row and assign a column class. It will occupy the space required based on the column size given by you. In this case, I’m going to use col-6 class, which will occupy 50% of the screen to display the form. Remember, in responsive web designing we are not using fixed widths, instead we use widths as percentages. But the real magic happens when you use offset classes. Since bootstrap grids use 12 column grids, it is simple to figure out what is the offset class that we need to center this column with the form. When divide the remaining column count by 2, It should be offset-3. Moment you refresh your react webform now you will notice that your from is in the middle of the screen.
How to style input controls in a react form component using bootstrap 4
For styling input controls you can use bootstrap 4 forms style classes. However, our react webfrom falls under horizontal forms category. Therefore, you can use bootstrap horizontal forms for styling your form. Let’s get the first from control and apply the styles. Your first input control code will change as follows;
<div className="form-group row">
<label className="col-sm-3 col-form-label">Book Name:</label>
<div className="col-sm-9">
<input type="text"
id="bookname"
className="form-control"
name="bookname"
placeholder="Book name"
onChange={(e)=>{
//collect the textbox current value
var val=e.target.value;
//using react setState() function to update
//name property of the state->book object
this.setState(prevState=>({
book:{ ...prevState.book,
name:val}
}))
}}
value={this.state.book.name}
/>
</div>
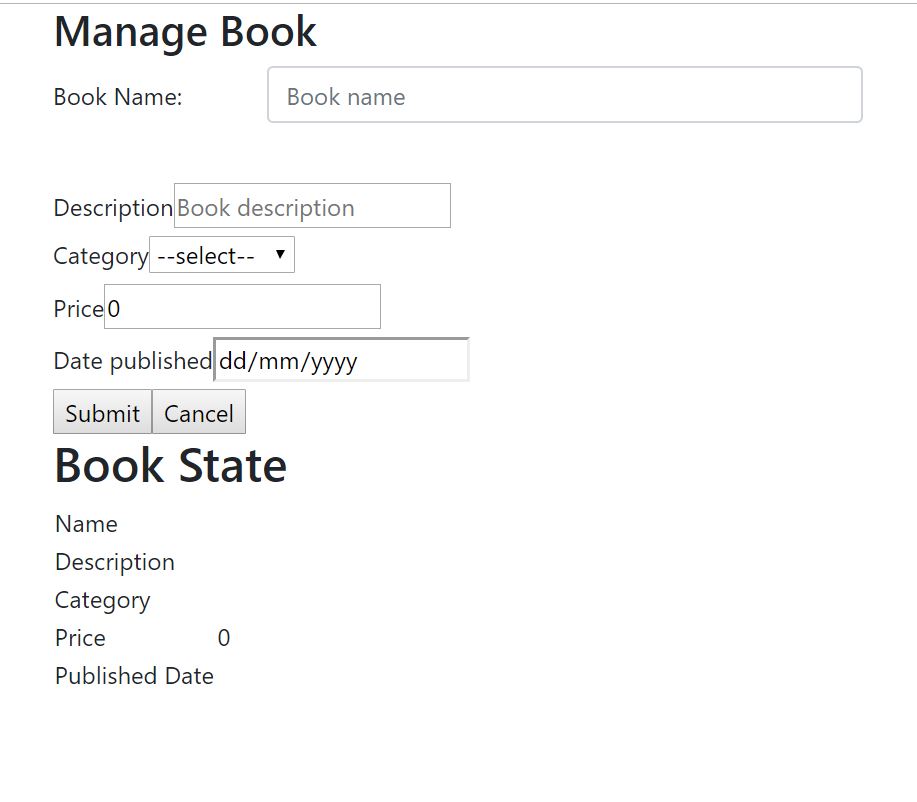
</div>Now your form will display as follows;
Next, let’s style all the controls one by one. The complete code of your react component would look as follows;
import * as React from 'react';
import * as ReactDom from 'react-dom';

export class Book extends React.Component<{},IBookState>{
    constructor(props) {
       super(props)

       //declare initial state
       this.state={
           book:{
               name:'',
               description:'',
               category:'',
               price:0,
               publisheddate:null
           }
       }
    }
    render(){
        return <React.Fragment>
           <h5>Manage Book</h5>
           <form>
           <div className="form-group row mb-1">
               <label className="col-sm-3 col-form-label">Book Name:</label>
                   <div className="col-sm-9">
                       <input type="text"
                               id="bookname"
                               className="form-control"
                               name="bookname"
                               placeholder="Book name"
                               onChange={(e)=>{
                                   //collect the textbox current value
                                   var val=e.target.value;
                                   //using react setState() function to update
                                   //name property of the state->book object
                                   this.setState(prevState=>({
                                       book:{ ...prevState.book,
                                           name:val}
                                   }))
                               }}
                               value={this.state.book.name}
                               />
                   </div>
               </div>
               <div className="form-group row mb-1">
                   <label className="col-sm-3 col-form-label">Description:</label>
                   <div className="col-sm-9">
                       <input type="text"
                           id="description"
                           className="form-control"
                           name="description"
                           placeholder="Book description"
                           onChange={(e)=>{
                               var val=e.target.value;
                               this.setState(prevState=>({
                                   book:{...prevState.book,description:val}
                               }))
                           }}
                           value={this.state.book.description}
                           />
                   </div>
               </div>
               <div className="form-group row mb-1">
                   <label className="col-sm-3 col-form-label">Category:</label>
                   <div className="col-sm-9">
                       <select id="category"
                           onChange={(e)=>{
                               var val=e.target.value;
                               this.setState(prevState=>({
                                   book:{...prevState.book,category:val}
                               }))
                           }}
                           value={this.state.book.category}
                           className="form-control"
                           >
                           <option>--select--</option>
                           <option>Fiction</option>
                           <option>Story</option>
                           <option>Adventure</option>
                       </select>
                   </div>
               </div>
               <div className="form-group row mb-1">
                   <label className="col-sm-3 col-form-label">Price:</label>
                   <div className="col-sm-9">
                       <input type="number"
                           id="price"
                           className="form-control"
                           placeholder="Price"
                           value={this.state.book.price}
                           onChange={(e)=>{
                               //a special momant, since the state price
                               //property is number we need to use parseFloat()
                               //function to convert the text value in number
                               var val=parseFloat(e.target.value);
                               this.setState(prevState=>({
                                   book:{...prevState.book,price:val}
                               }))
                           }}
                           />
                   </div>
               </div>
               <div className="form-group row mb-1">
                   <label className="col-sm-3 col-form-label">Date published:</label>
                   <div className="col-sm-5">
                       <input type="date"
                           id="datepublished"
                           className="form-control"
                           placeholder="Date published"
                           value={this.state.book.publisheddate}
                           onChange={(e)=>{
                               var val=e.target.value;
                               this.setState(prevState=>({
                                   book:{...prevState.book,publisheddate:val}
                               }))
                           }}
                           />
                   </div>
               </div>
               <div className="text-right">
                   <button type="button"
                       className="btn btn-success mr-2"
                       onClick={(e)=>{
                           console.log(this.state.book);
                       }}
                   >Submit</button>
                   <button
                   className="btn btn-danger"
                   type="button">Cancel</button>
               </div>
           </form>
           <h5>Book State</h5>
           <table className="table table-bordered">
               <tr>
                   <td>Name</td>
                   <td>{this.state.book.name}</td>
               </tr>
               <tr>
                   <td>Description</td>
                   <td>{this.state.book.description}</td>
               </tr>
               <tr>
                   <td>Category</td>
                   <td>{this.state.book.category}</td>
               </tr>
               <tr>
                   <td>Price</td>
                   <td>{this.state.book.price}</td>
               </tr>
               <tr>
                   <td>Published Date</td>
                   <td>{this.state.book.publisheddate}</td>
               </tr>
           </table>

        </React.Fragment>
    }
}
//State interface
interface IBookState{
    book:{
        name:string;
        description:string;
        category:string;
        price:number;
        publisheddate:any;
    }
}
export default Book;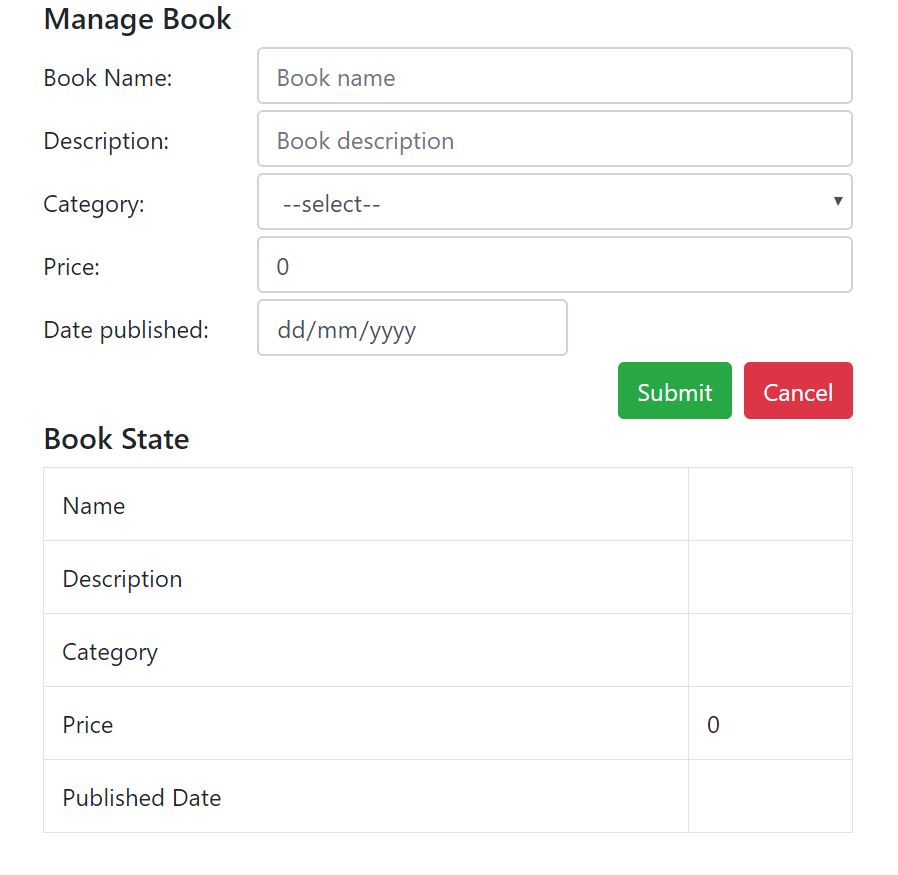
You can download the full project via this github download link
Click here for live demo
Share your thoughts